Pages

goggle search

Showing posts with label Rose Room. Show all posts

Friday, January 16, 2015

Rose Room Update


UGH! I'm trying to use the Picasa editor and its not working.  But wanted to share what I'v been up to with my shabby chic room. So please forgive the photo.
I have had this green and cream polka-dot fabric for years.  Finally working up the courage to get the sewing machine dusted off  this bed skirt was the results.
Not only is the skirt new...but a few other things that you cant see, I found heated mattress pad covers at a deep discount.  And everyone got one for their beds...so warm and toasty.  At the same sale I found cold weather comforters, There's nothing like a bed that is made for sleeping.  I have a few more things on there way to add to our yummy cozy beds.  We may never get out of them. 

Monday, June 2, 2014

Foe Stained Glass Rose Window


This has turned out to be one of the best windows I have done to date.  This window is all foe and the process is simple.
First The Room without the view, In fact its a nasty view.
Its hard to see all the trash but its there, imagine looking at that everyday.
The rotten fence is down and fast growing evergreens have been planted,
it still would take awhile for them to mature.  So I made my own view.
 
 
Now for the cover up.
 
 
From start to finish and working till my hands got tired (2-3 hours at a time)
It took me about three weeks.
(how do you like my polka-dot nails?)
 
 
Oh this view is much better, and I can take it with me.
I added teeth hangers to the back of the frame and
put nails in the window frame. It comes off east but is
very stable on the window.

 
I tried to leave some space for the cats to look out when they
are on their perch.  Surprising, they don't seem to mind...usually
they take every moment to point out their displeasure with humans.


OK What I needed to make this window
 
18 X 24 Frame with Glass
Black Sharpie (Tracing)
Color Markers to color in the pattern
Ruler
 1Gallery Glass Liquid Leading
Exacto knife
Gallery Glass Colors:
(2) #16022 Clear Frost
(1) #16008 Kelly Green 
(1) #16851 Green Shimmer
(1) 16007 Cocoa Brown
 
 
I purchased a cheap frame with glass.  (then I accidentally broke the glass and had to get new glass)
I took the liner in the frame...you know the paper that backs the glass and has the price and a picture of overly happy people.I flipped it over a drew a grid.  Make sure you can hang your frame without wires going across the back and it will be secure on the window.
 
I found a picture of inspiration online and printed it, then drew a grid over that.  NOTE:  You have to have the same number of squares on your inspiration picture you printed and the paper liner.  The squares will not be the same size you just have to have the same number of squares.
 
Once the grid was drawn out I then started drawing in the flowers, leaves, stems and such.  Taking each box at a time.  I did not do an identical copy I left something's out and added flowers, leaves and stems as I saw fit.  I colored in the leaves and flowers with colored markers as I went (do not use crayons they will stick to the back side of your glass)  The lines can get really jumbled to the eye and coloring it helps visualize the patter and make adjustments.  And its easier to follow when coloring with the liquid glass.
 
With that finished I put the paper and glass back in the frame facing the front with the glass on top.  This kept me from having to tape the paper onto the glass and kept it stable and easy to work with.  It also showed me where I had to stop at the edge.
 
Now I traced my black lines with the liquid leading.  If you make a blob DO NOT WIPE IT let it dry and continue on.  You can come back to your blobs and neaten them up with the exacto knife just cut out what you don't want.  You can peel this stuff off...so if you make a mistake just let it dry and peel it away.
 
Once the lives were traced I started coloring in...this was the fun part.  In the clear area I marbled clear frost and snow white,  I wanted it more opaque.  Then with my roses I did marbling on each leaf with two or more of snow white, Rosy Pink and Magenta rose.  The leaves were marbled with Kelly Green and Green Shimmer.  The stems were Cocoa Brown I made it thicker in some parts this gave the illusion of shading.
 
 NOTE: put it on thick and take it all the way to the leading.  If you feel its too thin you can put a second coat on.  BUBBLES: Don't go too fast you will have too many bubbles, you can pop the bubbles with the tip of the bottle or a tooth pick.
 
DRYING:  I laid it flat every night since I put it on so thick.  But if you are doing it directly on a window apply it thinner and add another coat to darken it up if you want. 
 
I think I covered everything if you have any questions please leave a comment or e-mail me.
 
There are several ways to purchase Gallery Glass first just order it on amazon by clicking the link below.  They way I did it...being frugal.. was use coupons or apps at Hobby lobby.  This meant I had to buy one at a time as you can only use one coupon per person per visit.  But to make it easier I took my kids handed each a coupon, bottle and some cash. 
 
In total for the frame and  8 Gallery Glass bottles ( not including the new glass and I already had the other supplies)  I spent $44.02.  To purchase from amazon would be $51.44 without shipping and without the frame.  The frame was 50% off, Hobby Lobby puts their frames on sale all the time.


Wednesday, February 12, 2014

Paper Rose Wreath


PINK ROSE ROOM DECORATION
Wanted to share more of my room

 
These are fun to make
 
 
They do take ALLOT of paper, but you can see
how it adds some style to my room


Saturday, January 18, 2014

Whats New In The Rose Room


Now that I "think" I finally have my Blog up and running again...I can start sharing.  And the first thing I want to start sharing is my Bedroom.  I have been working on my room for awhile and am very proud of it. 
So What's New in the Pink Rose room...

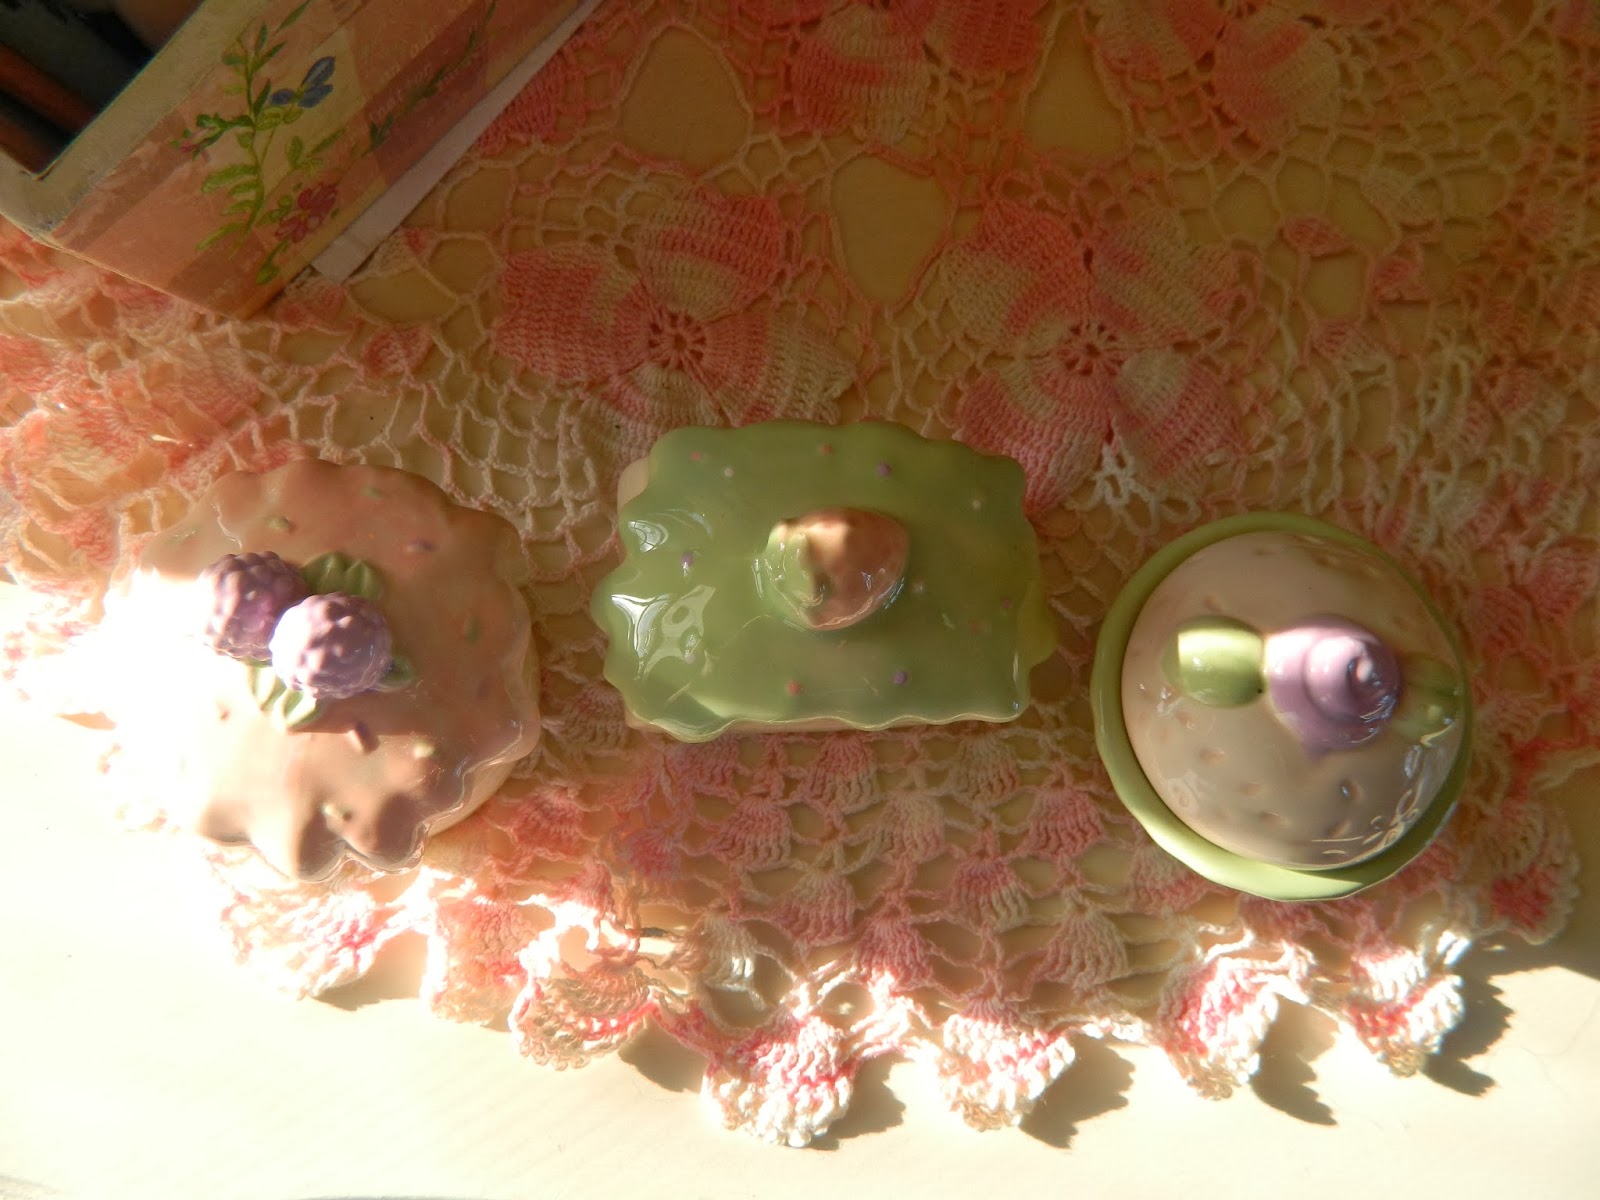
Here are some little trinket boxes I got from Hobby Lobby, they were at 50% off I think I wound up paying less than $4.00 for all of them.

They are just right to hold those little things.

Like: The pretty stitch markers my doughtier makes for me
          Hair Pins, I have to hide them from my Kitten she likes to carry them around
          And the left over screws from when I took apart my computer to clean the fan...oops!

 
Lucky Me, I got a $50.00 gift card for Hobby Lobby for Christmas, obviously someone knows I like the store.  So what did I spend it on?


I really like the shabby look of  the piece, but I must admit it was very cheaply made, the hangers in the back were all wonky, a hook is missing on the front (not sure what I am going to do about that) and overall it felt cheap.  But I liked the way it looked and it gave me a place to put those little gifts the kids give me.  Had it not been 50% off I would not have paid the $79.99 price tag.  But at $39.95 and my gift certificate...I thought it was worth it.


I am always working on something new for my room...I like the idea of having handmade items, I think it adds to the charm.  Right now I am working on some Embroidery pillow cases,  I work on them at the same time for several reasons, first they get done at the same time and second I don't usually use the recommended colors and I might forget...hey it happens.


As you can see they are almost done (sorry about the lighting) I will be showing them off in a later post.

With All That I am
Carrie

Thursday, April 25, 2013

Furniture Refinish Part 2


Well these were a pain in the BLEEP but I am very proud and happy with the way they turned out.
Lets start with the dresser


BEFORE: 

This was in bad need of a re-do you can see it here but the finished looked like mustard was smeared all over it.  Then to top it off white spray paint was sprayed on the top and spattered all over the mirror.  It took many scrapings and tedious sanding but I got the top nice and smooth.


AFTER:

I wish the lighting was better, but this is a nice warm pink.  IT is hard to find a warm soft pink but I did it and I am very pleased with it.  The white spray paint came off the mirror with a razor blade and my needle work looks great above it.  The white frame (and the gold one you can see reflected in the dresser mirror) is next to be re-finished.


Now onto the Desk and Hutch, I drove by this on the side of the road on my way to take Trinity to Gymnastics.  I liked the feminine shape.


BEFORE:

My Son thought I was crazy when I asked him to help me load this on the truck.  But it had nice lines and was in good shape.  Not as well made ad I would have liked but I could make this work.


AFTER:

As you can see it fits in perfectly in my girly Rose room.  I decided to make this a creamy antique white, not wanting to go pink and make everything too matchy, matchy.  I am on the hunt for drawer pulls.  Originally on the hutch drawers were two nobs and plastic pulls on the desk drawers.  I didn't like them at all.  The trouble is the holes on the hutch are closer than the drawers on the desk.  I also need to raise the hutch as it is too low for a computer.  I have an idea in mind that I think will look great.